
EV Charger Installation Guide
Your comprehensive, step-by-step resource for installing your Flamingo Charger at home safely and efficiently.
Installation Process
Installing an EV charger at home is a process that requires careful planning and execution. Follow these steps to ensure a smooth installation:
- Assess Electrical Capacity: Check your home’s electrical panel to ensure it can support a 240V circuit. Consult a licensed electrician if needed.
- Choose the Right Location: Select a location close to your parking spot and the electrical panel, ensuring accessibility and safety.
- Secure Necessary Permits: Verify local regulations and secure any necessary permits to install an EV charger.
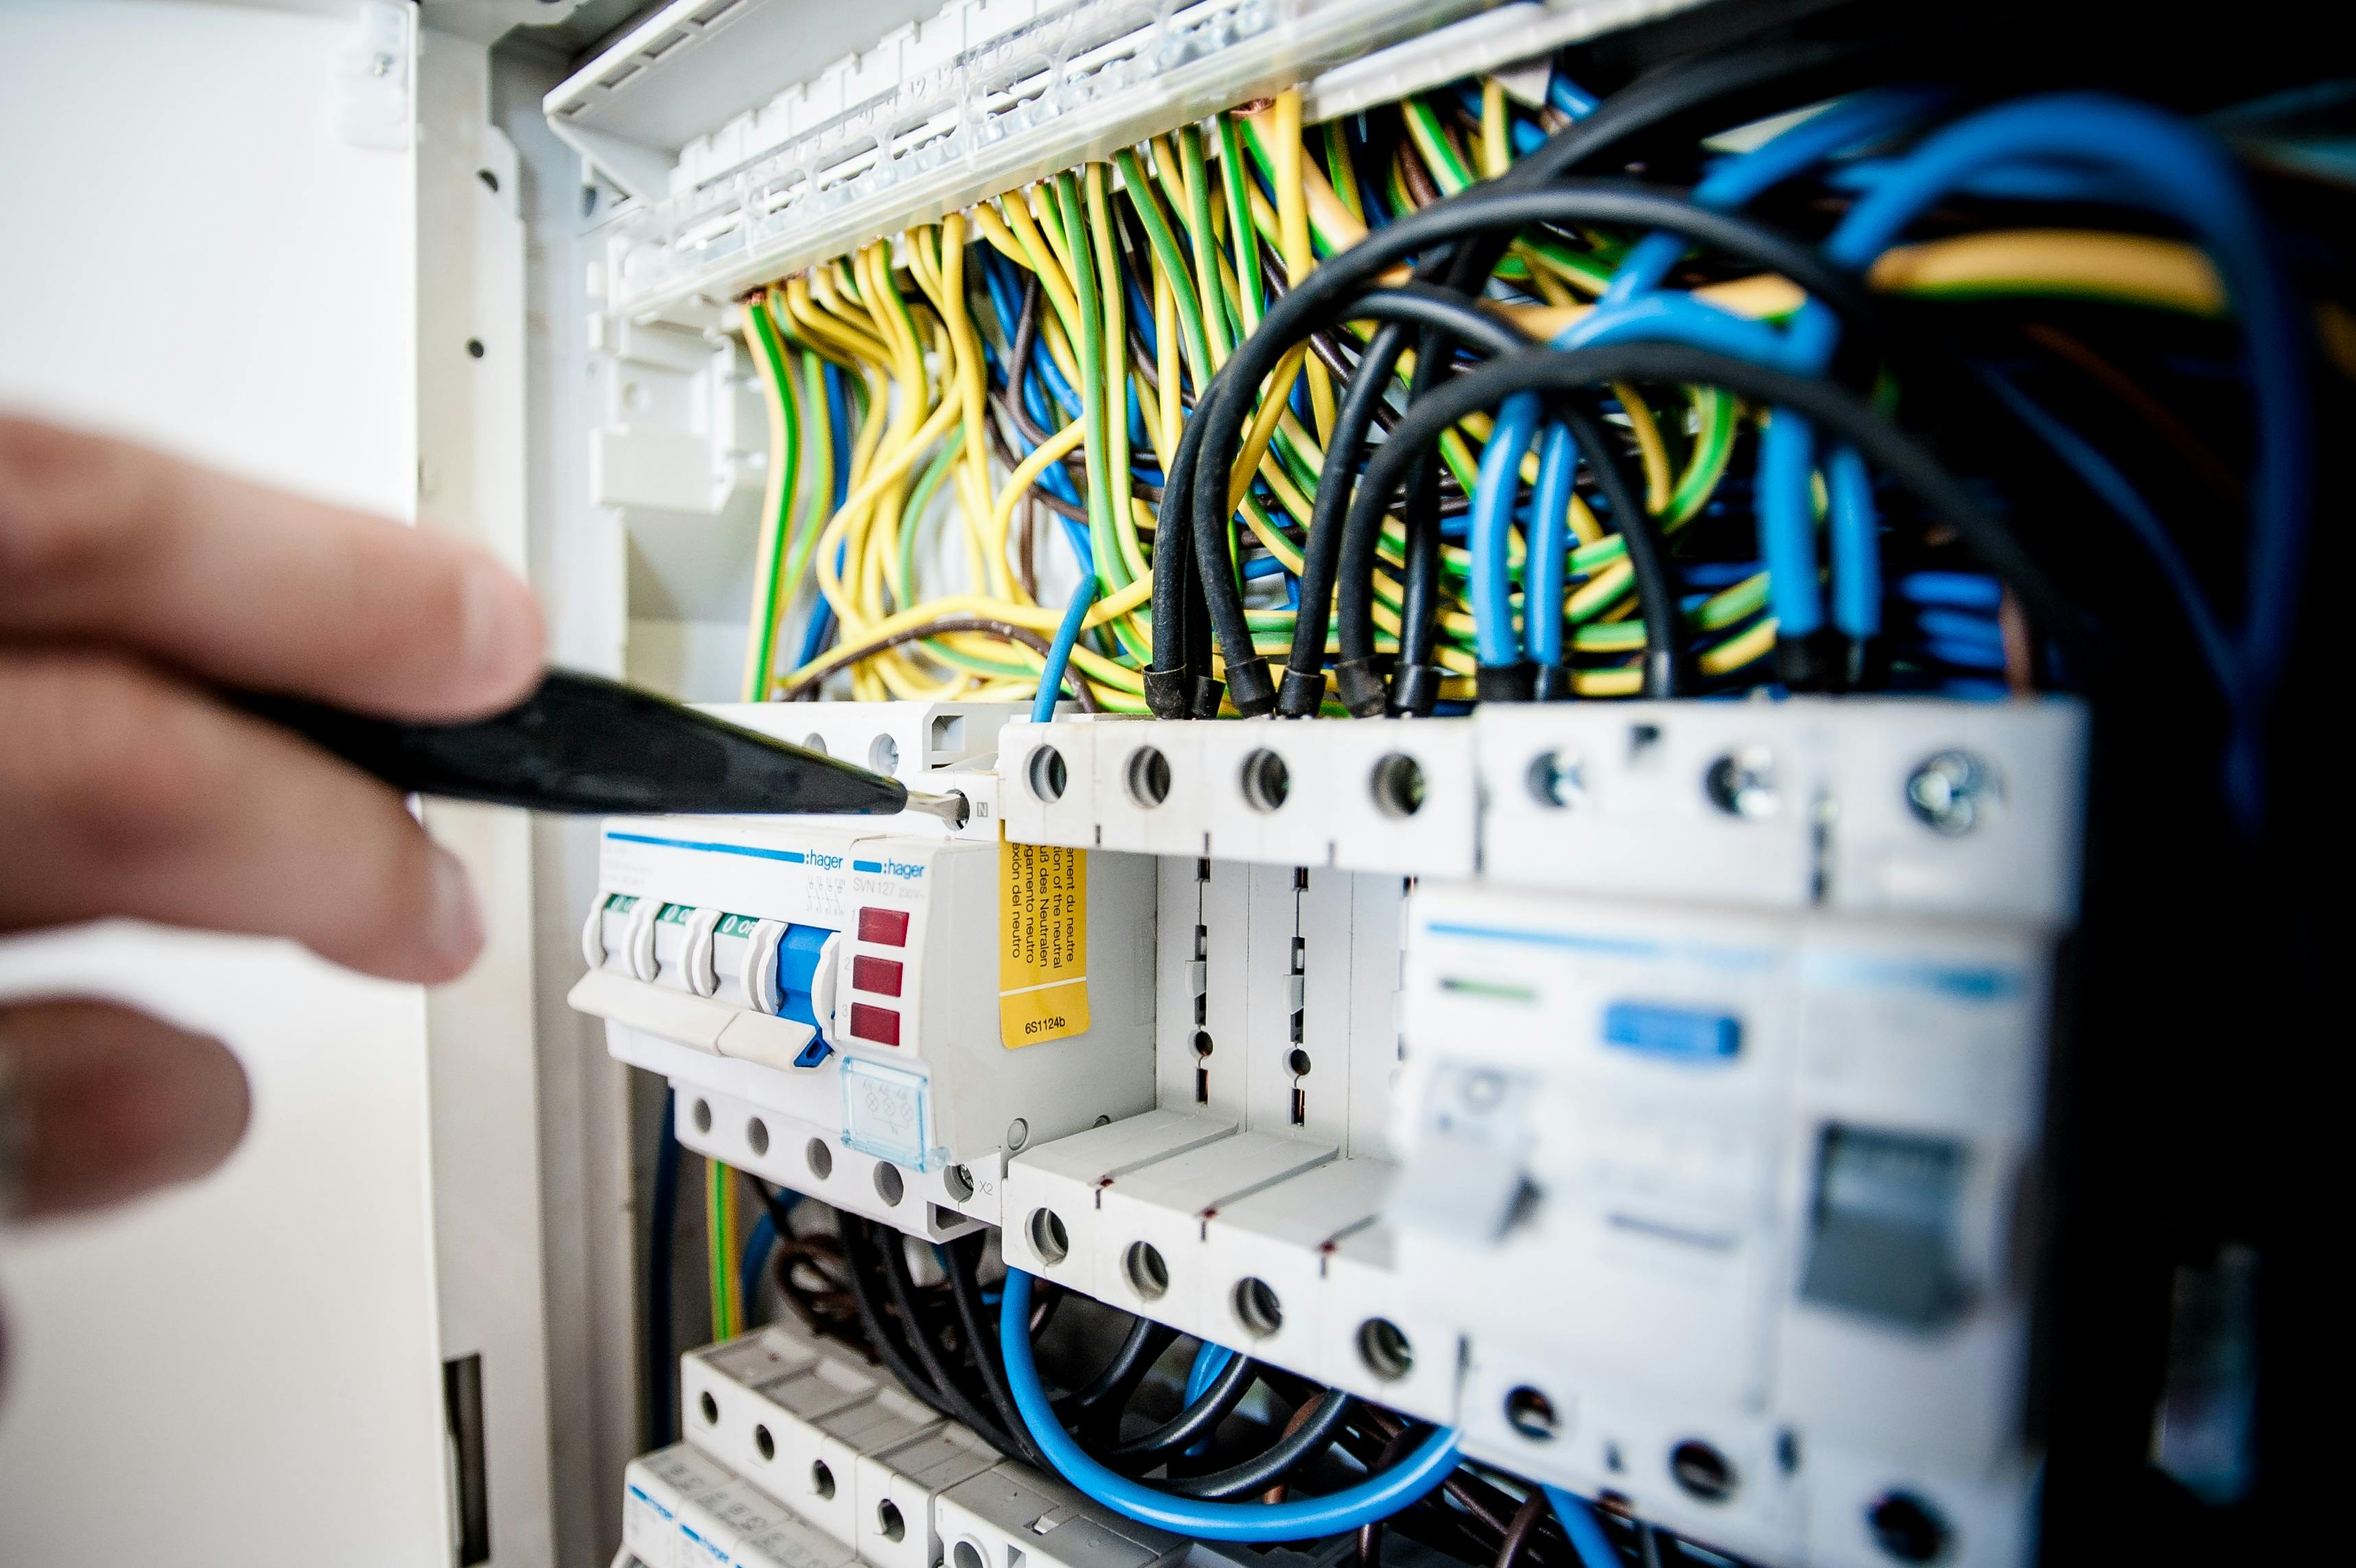
- Hire a Certified Electrician: For safe installation, hire a professional who will mount the charger, manage the wiring, and ensure compliance with local codes.
- Install the Charger: Once the electrical requirements are met, install your Flamingo Charger following the manufacturer’s guidelines.
- Test Functionality: After installation, test the charger to ensure it operates correctly and safely.
This detailed process minimizes the risk of electrical hazards and ensures that your charger performs optimally.
Installation Tips & Best Practices
- Plan Ahead: Schedule the installation during off-peak hours to avoid disruptions.
- Regular Maintenance: Follow up with periodic checks to ensure all components are functioning correctly.
- Energy Optimization: Utilize smart features to monitor energy usage and schedule charging during off-peak hours.
- Safety First: Always follow safety guidelines and consult professionals when in doubt.
Frequently Asked Questions
Q: How long does installation typically take?
A: Installation can take between 4-6 hours, depending on your home's electrical setup and permit requirements.
Q: Do I need an electrician?
A: Yes, it is highly recommended to hire a certified electrician to ensure safety and compliance with local codes.
Q: What are the upfront costs?
A: Installation costs generally range between $500 to $1500, which may be offset by government incentives and rebates.
Q: Can I install the charger myself?
A: While DIY installation is possible, it is not recommended due to safety and legal concerns.